WordPress – Steps to import MySQL DB from online host to localhost
Steps I use to import data (ie posts, settings info etc) from my online hosting account to the MySQL database on my localhost (ie my own pc). This will not import any files such as plugins, updates or uploaded images. Those files need to be transferred separately with a file transfer program such as filezila. This post covers exporting and importing the wordpress Database. NOTE: I do not claim this is the most efficient or the most secure method. It is simply how I do it. I use:
- XAMPP to run the apache server
- MySQL workbench to import the DB file onto my pc
- phpMyAdmin via my online hosts cpanel to create the export file
Steps in short:
- Backup database from localhost using MySQL client ( I use MySQL workbench) – I am normally able to skip this step
- Export data from online hosting site using phpMyAdmin
- Modify site settings (urls) in exported file
- Import data from SQL file created in phpMyAdmin by running SQL scripts in MySQL workbench
Details:
1. Backup database from localhost using MySQL client. Screen shots shown here are using MySQL workbench…
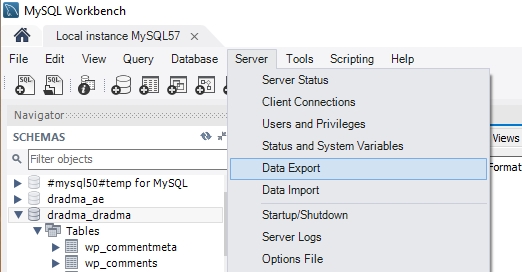
Export as a single file:
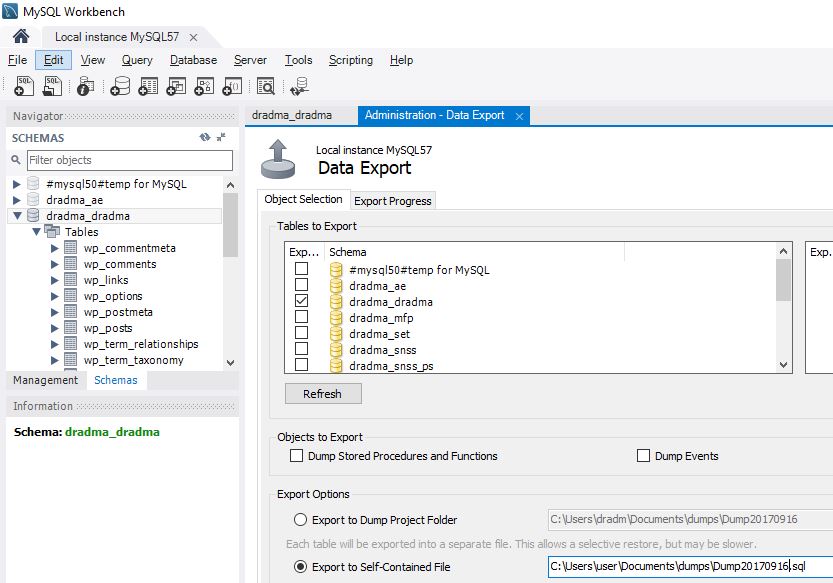
Archive the file for backup. I typically give the file a more meaningful name and I will select the ‘include create schema’ box as shown below:
2. Export data from online hosting site using phpMyAdmin
- Access hosting account using cpanel
- Locate and open phpMyAdmin (in cpanel Database category)
- Use phpMyAdmin to export a copy of the desired online database by:
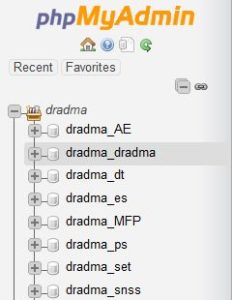
a) Locate database in database list
b) Use ‘Export’ function to view export options:
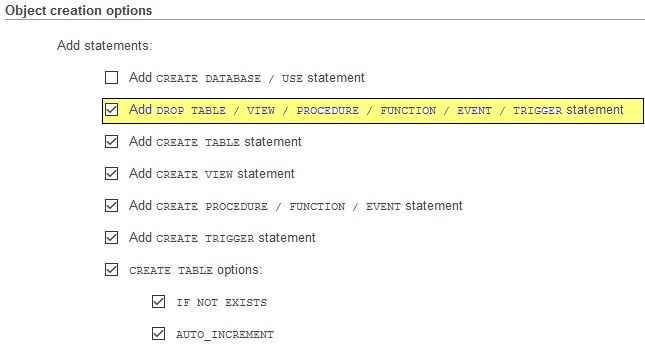
c) Leave most options but select ‘Add drop table’ to renew all tables within database.
Note 1: Select ‘create database’ as well if you intend on refreshing the database completely (you will need to drop the database).
Note 2: If you select the option of ‘truncate tables’ (not shown below), make sure to select ‘If not exists’ for table creation. Otherwise, errors will be generated.
d) Select ‘go’ to run the export function and save the outputed file in a suitable location (ie archives)
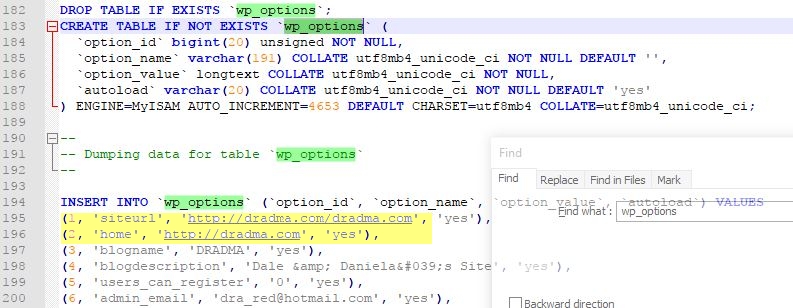
3) In exported SQL file, look for the site domain name that is specified in ‘wp_options’ table script. For example, here I am looking for the site dradma.com…
These urls will need to be modified to match what is used on localhost. For example, below I show changing the two urls to ‘http://localhost/dradma.com‘.
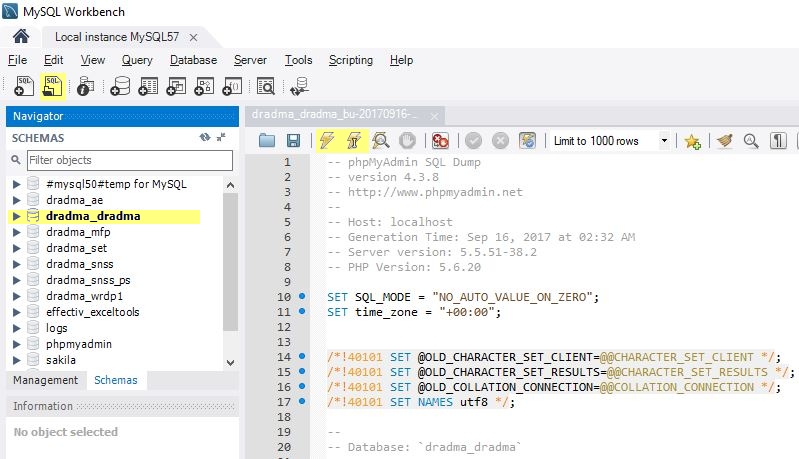
4. Import data from SQL file created in phpMyAdmin using selected MySQL client program. Below shows MySQL workbench process…open SQL file (phpMyAdmin export), check you have the correct schema/database selected, run the SQL script and check the database has successfully been imported.

